
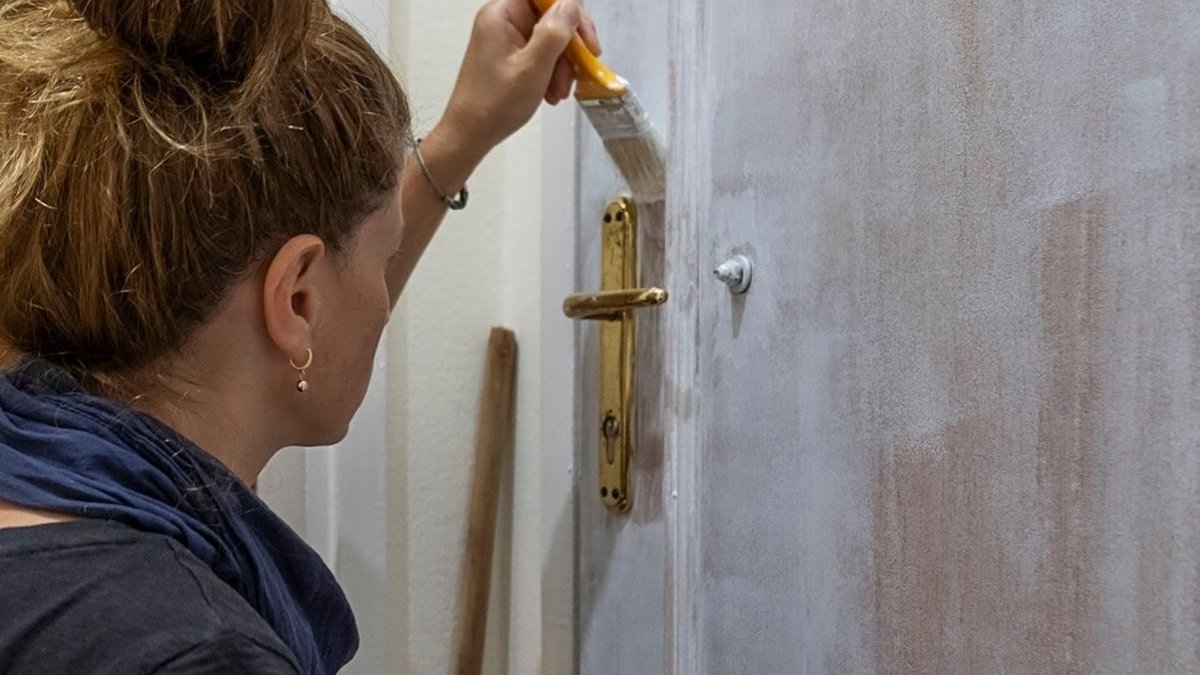
Updating internal doors with a fresh coat of gloss coating offers one of the most cost-effective ways to refresh a home’s appearance, and the project can often be completed in a single weekend. The panels in a typical house take a lot of daily wear and tear, causing the finish to chip or fade over time. Restoring them to their original look requires more than just wiping the surface down, especially if you are new to DIY tasks.
Choosing the right product for the job
Modern household coatings are often water-based to reduce environmental impact, but solvent-based options remain more durable for areas subject to heavy traffic. Door panels and frames endure constant opening and closing, which makes the robust nature of solvent-based products a practical choice for longevity. Regardless of the specific type selected, preparation is the most essential step to ensuring the finish adheres properly and lasts for years.
Before applying any color, sanding the surface lightly helps the new coat grip the old layer rather than peeling away later. This process, known as “keying” the surface, takes only a few minutes and removes loose debris. Cover the floor with a dust sheet or cardboard and remove door handles to allow for better access to the edges. Once sanded, wipe the panel down to remove any dust before moving to the next stage.
The application method
Applying an undercoat before the top coat is generally recommended, even if the current finish looks solid. Undercoat covers imperfections more easily than gloss and prevents the final color from looking streaky or patchy. When mixing the coating, pour it into a paint kettle to control the flow and prevent drips. A good quality synthetic brush, roughly 35 to 50 millimeters wide, will give the best results.
Related: RHS Badminton Show Gardens Revealed
When loading the brush, dip it into the product and tap the tip against the inside of the kettle to remove excess liquid. This technique prevents coating from running down the handle or spilling over the rim of the can. If you are treating a flat door without panels, using a mini roller with a short-pile glossing sleeve can speed up the process. However, it is essential to lay off the coating quickly with a dry brush afterward to eliminate any texture or bubbles.
For panelled doors, work methodically from the top left section down to the bottom. Coat the recessed areas surrounding the panels first, then the panel itself. Feather the edges of the coating as you go to prevent thick ridges that could lead to runs. If you are brushing a flat door, working in a grid pattern helps manage the drying time. Working from left to right in horizontal sections and then brushing vertically helps spread the product evenly.
It is easy to rush through the edges of a door, but coating the edges first allows you to feather any build-up around the corners. This attention to detail keeps the lines sharp and prevents the coating from drying unevenly. Look back over the panel periodically to catch any runs before they dry completely. This careful approach ensures a smooth, professional-looking result without the need for a contractor. For more home improvement ideas, consider exploring simple seasonal refresh tips that complement interior upgrades.


